Your basket is currently empty.
Shop NowUpcycling Projects to Try : Number 8: Pusheen Cat

Upcycling Project Number 8
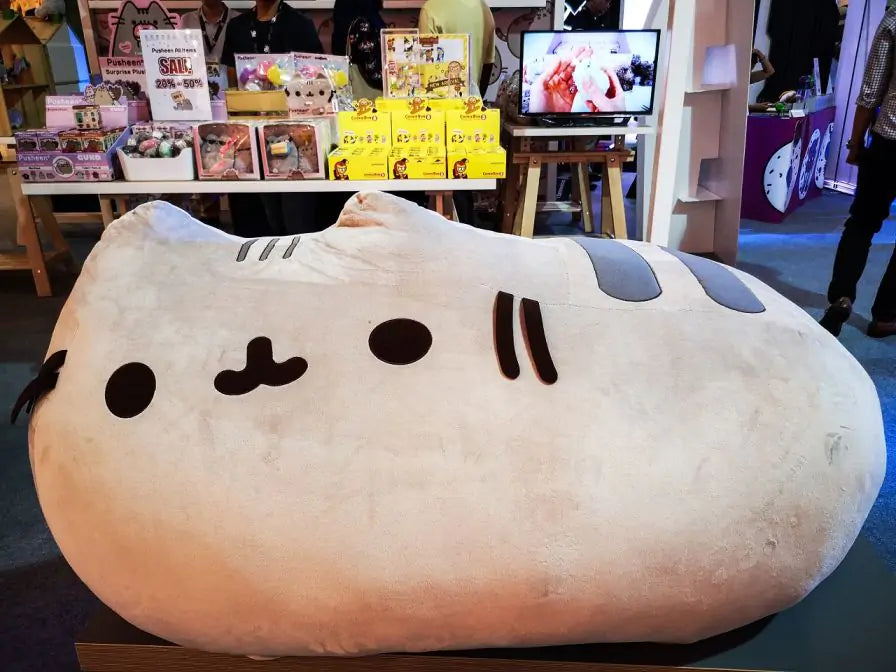
Plush Pusheen Cat Made from Socks
The Easter holidays have come and gone, and the summer holidays are fast approaching, so you might need more than a few ideas to keep the kids occupied. This project helps the environment, and will keep the kids amused, what’s not to love?
Dig out your odd socks
If you’re like most people, you will have countless odd socks in your drawer. Instead of hopelessly searching for its long- lost partner, why don’t you put them to good use?
How saving your socks can help the environment
If you reuse your socks, they won’t end up in landfill. You won’t have to buy new items either which means natural resources are saved, and so is energy, and packaging.
How can I use my old socks?

Make a dust rag
Socks are good for cleaning furniture, windowsills, computer screens, and blinds.
Make a drink cozy
Cut the top of a sock off and slide it over the bottom of a cup to keep the liquid cool or warm.
Soothe sore muscles
Fill a sock with rice, wheat, or flaxseed, place it in the microwave for a minute, and put it on sore muscles. You have your very own heat pack!
Upcycling project: Make a cute cat!
What you will need:
Felt – black, dark grey
1 grey sock
Scissors
Fabric glue
Chalk or washable fabric pen for marking
Polyester fibre filling/stuffing
Thread – black or grey
Sewing pins (optional)
Needle

How to make it:
Step 1: Turn the sock inside out. Lay it flat with the heel flap folded towards the direction of the toe.
Step 2: Draw the outline of the cat’s ears on the toe side and mark the end using the heel flap as a guide.
Step 3: Sew the ear outline.
Step 4: Cut away the excess fabric between the ears. Cut along the bottom outline.
Step 5: Use a pointed object to make the ears into a pointy shape.
Step 6: Fill it with the stuffing. Start with the ears. Use a pointed object to help push in the stuffing. Make sure you use enough stuffing so there are no loose areas.
Step 7: Close the opening by stitching around it and then pulling the thread.
Step 8: Using the top part of the sock, draw an outline for the tail.
Step 9: Sew on the outline, cut away the excess fabric and close the opening.
Step 10: Pin the tail in place on the cat’s body using sewing pins.
Step 10: Cut out a pair of eyes, 2 large stripes for the body, 3 small stripes for the head and 4-5 stripes for the tail.
Step 11: Pin the stripes in place, then use fabric glue to secure them.
Step 12: Make the shape of the mouth by marking an outline. You can either sew it on or trace it using a fabric marker.
Step 13: Cut out small pieces of felt for the whiskers, and glue them in place. You can also use fabric marker for this if you want to.


